You can refer to the post here, on how to make the cookie dough and tint it to the desired color. You can tint them any shade you please, but just ensure they are contrasting colors, so that the checkerboard pattern shows up clearly.
For the dough I used
Ingredients:
1 cup APF
1/3 cup sugar (castor)
7 tbsp cold unsalted butter
I made the crumbly mixture with the above, once for the white dough and once for the red dough.
Ingredients:
1 cup APF
1/3 cup sugar (castor)
7 tbsp cold unsalted butter
I made the crumbly mixture with the above, once for the white dough and once for the red dough.
I whisked together the following ingredients:
1 Egg Yolk
1 - 1.5 tbsp cream or whole milk
2 tsp vanilla extract
1/4 tsp salt
This mixture was roughly 8 tablespoons.
 I took 4 table spoons of this mixture aside and added the color to it.
 3. On a lightly floured surface, roll the dough into about ¼ inch thick, to make a rough rectangle of one side having 9 cm dimension. I got a square roughly 9x9cm.
4. Keep the sides of the rectangle roughly in line using a scraper or knife.
 5. On the 9 cm side, mark out 9 strips of 1 cm each.6. Cut out the uneven edges of the rectangle. Return this trimmed dough along with the wrapped dough in the refrigerator.
7. Cut the rectangle into 9 strips along the markings. Ensure that the dough is cold when you do this, so the strips retain their shape.
8. Repeat the process with the red dough.
9. Cool the strips on the wax paper for 10-15 minutes in the refrigerator.


1 Egg Yolk
1 - 1.5 tbsp cream or whole milk
2 tsp vanilla extract
1/4 tsp salt
This mixture was roughly 8 tablespoons.
 I took 4 table spoons of this mixture aside and added the color to it.
To one portion of the mixture, I added the colored liquid and to the other I added the plain liquid.
I wrapped the dough in butter paper and chilled it for a day.
- Take the chilled white dough from the refrigerator and cut the dough in half.
- Wrap and return one half of the dough to the refrigerator.
 3. On a lightly floured surface, roll the dough into about ¼ inch thick, to make a rough rectangle of one side having 9 cm dimension. I got a square roughly 9x9cm.
4. Keep the sides of the rectangle roughly in line using a scraper or knife.
 5. On the 9 cm side, mark out 9 strips of 1 cm each.6. Cut out the uneven edges of the rectangle. Return this trimmed dough along with the wrapped dough in the refrigerator.
7. Cut the rectangle into 9 strips along the markings. Ensure that the dough is cold when you do this, so the strips retain their shape.
8. Repeat the process with the red dough.
9. Cool the strips on the wax paper for 10-15 minutes in the refrigerator.


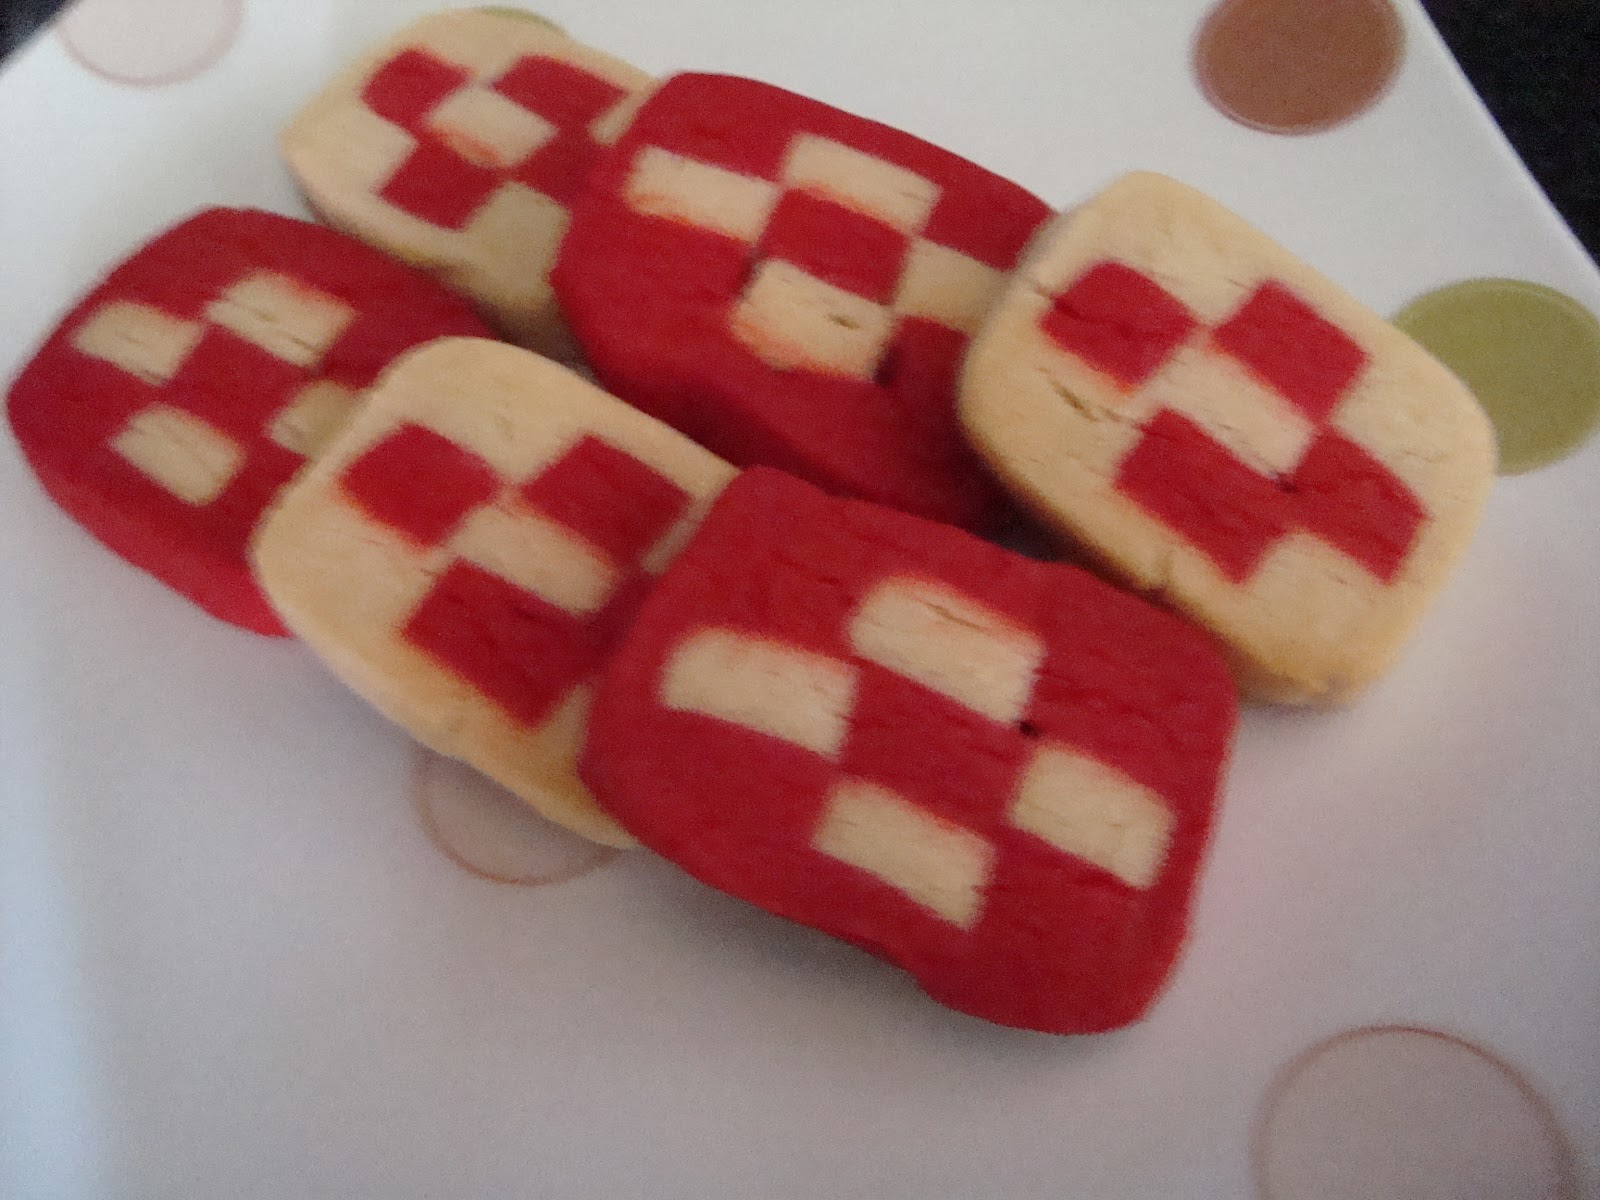
10. We have 9 red strips and 9 white strips. Take the strips and form the checkerboard pattern as follows:
11. We have now used of 5 red strips and 4 white strips. We still have 4 red strips and 5 white strips.

12. Make the second checkerboard log consisting of three layers, white-red-white, red-white-red, and white-red-white. Refrigerate the logs again.
- Take the strips red white and red, and apply the egg white on the sides. Place them together and make the first layer.
- Next, take the strips, white red and white and apply egg white to seal them together. Apply Egg white on the first layer and place the second layer on top of the first.
- Make the third layer using red, white and red.
11. We have now used of 5 red strips and 4 white strips. We still have 4 red strips and 5 white strips.

12. Make the second checkerboard log consisting of three layers, white-red-white, red-white-red, and white-red-white. Refrigerate the logs again.

- Take the half-dough white from the refrigerator and roll into a thin 1/8 inch thick rectangle. Wrap the refrigerated second log with this strip.
- Cut off the excess wrapping and trim the open ends of the log to form a neatly trimmed end. Be gentle so as to not skew the checkerboard pattern.
- Return the wrapped logs to the refrigerator.

 16. Take the chilled wrapped logs after 15-20 mins and cut into 1 cm wide cookies.
17. I got around 5 cookies from each log.

18. Line the cookies on an ungreased baking sheet.
 19. Bake the cookies in a preheated oven of 160 degrees C or 325 F for about 10-12 minutes, or until slightly brown at the edges.
20. Cool for 5 minutes in the baking dish.
21.Transfer to a wire-rack to cool completely.

Yummy Cookies are ready to be devoured.
Wondering what to do with the leftover dough and the scraps from the
trimmings?


This is also one of my entries to Vardhini's "Bake Fest" Event. Here is the link to the event:
http://pumpkinfarmfood.blogspot.com/2011/12/bake-fest-new-year-event-2012.html
http://vardhiniskitchen.blogspot.com/p/bake-fest-hosting-schedule.html